I’ve finally started uni, and it’s been a lot of fun so far. I keep seeing students trying to get some programming and cybersecurity tools working on an existing Windows or macOS system.
That’s good and all until you run into an issue that takes longer to solve than it is to set up a virtual machine… So here we are.
Requirements
For this guide, I picked Xubuntu and VirtualBox.
Xubuntu is a derivative of Ubuntu. It’s lighter weight and for weaker laptops (like mine) it’s more usable since slideshow displays aren’t fun to deal with.
VirtualBox is a hypervisor. It lets you run a computer inside your computer. It also keeps the stuff we’re doing on Xubuntu to stay in the VirtualBox container so that it doesn’t mess up our actual computer.
Note: If you are on Windows, open up Task Manager (Ctrl+Shift+Esc) and click “More details.” After that choose the “Performance” tab and under CPU, make sure Virtualisation is “Enabled.”
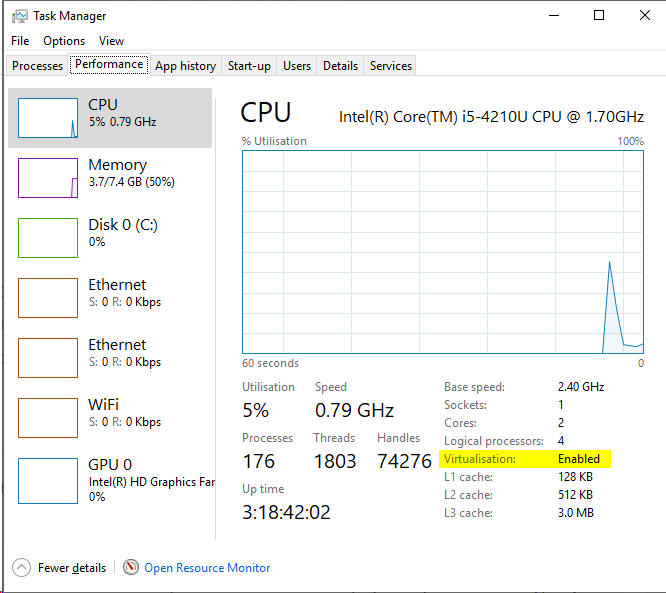
If it isn’t, check the Appendix at the end of the article.
Installing VirtualBox
Download VirtualBox from their website. Make sure you get the right version for your computer (v6.0.4: Windows, macOS) and the extension pack.
Windows
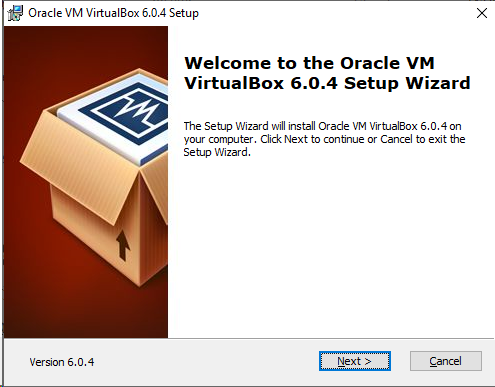
After the download finishes, run the installer and go through it as normal.
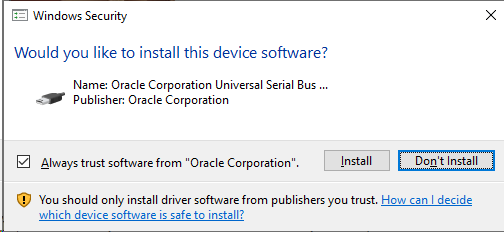
It will warn you about possible network disruptions, that’s normal. You can keep going. It might also ask about drivers, it’s OK to install them. (You can stop this from showing up again by trusting Oracle’s certificate.)

After all of that, VirtualBox will start. This is what it looks like:
macOS
I haven’t taken screenshots for this on macOS yet. Hopefully soon.
Extension Pack
After VirtualBox is installed, you can now install the extension pack. It includes useful things like support for USB 2.0 and 3.0, disk encryption and NVMe among other things.
You don’t have to install it, but it makes life a lot easier if you need to use USB drives and devices with your VM.
Installing Xubuntu
Downloading the ISO
You can download Xubuntu from their website. You can either download it normally or torrent it.
After it’s done, you should have a “xubuntu-18.04.2-desktop-amd64.iso” in your Downloads folder.
Creating the Virtual Machine
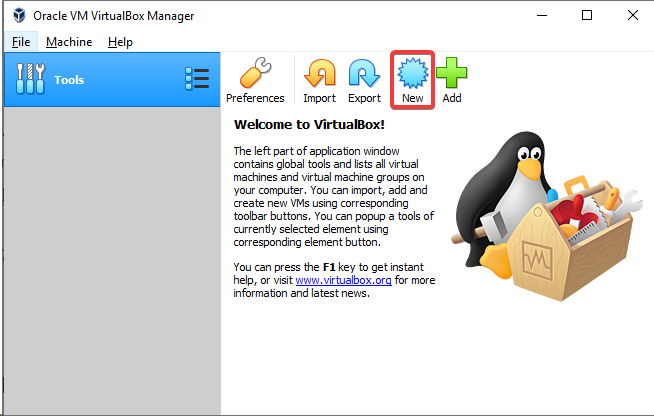
Now that VirtualBox is set up, you need to create a VM. To do that you need to click on “New.”

When a new window comes up you can name your virtual machine however you want.
It’s also important that you pick Linux / Ubuntu (64-bit) to get the right default settings for the VM.
When it comes to memory, I recommend allocating at least 4 GB, if you don’t have enough RAM for that, try keeping it in the green area.
For hard disk size, you can either leave it at its defaults or increase to whatever size you’re comfortable with.
Finish that off and you should be back to the main VirtualBox window.
Installing Xubuntu
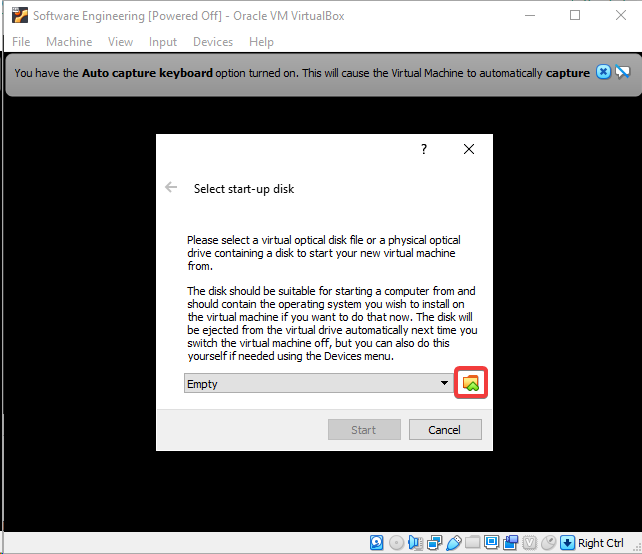
You should now start your virtual machine, it will come up with a prompt asking you to insert a start-up disk. Press the folder icon to browser for the ISO file that was downloaded earlier. Press “Start” after you selected the right ISO.
Note: If your keyboard and mouse get stuck in the virtual machine, you can press the Right Control key (or the Left Command key if you’re on Mac) to unlock them.
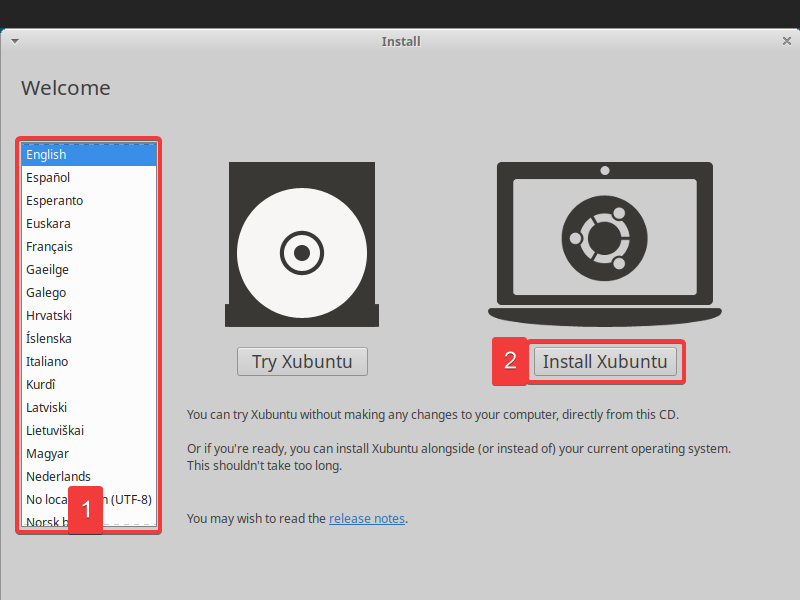
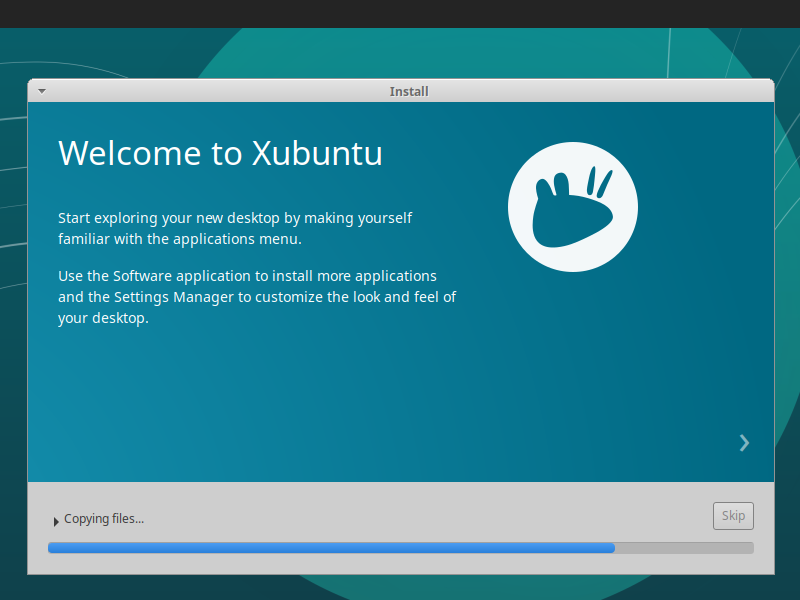
After starting the Virtual Machine and waiting for a bit… you should get to the installer.
Then choose the language and then “Install Xubuntu.” Go through the installer as normal, going through Keyboard Layout and finally reaching “Updates and other software.”
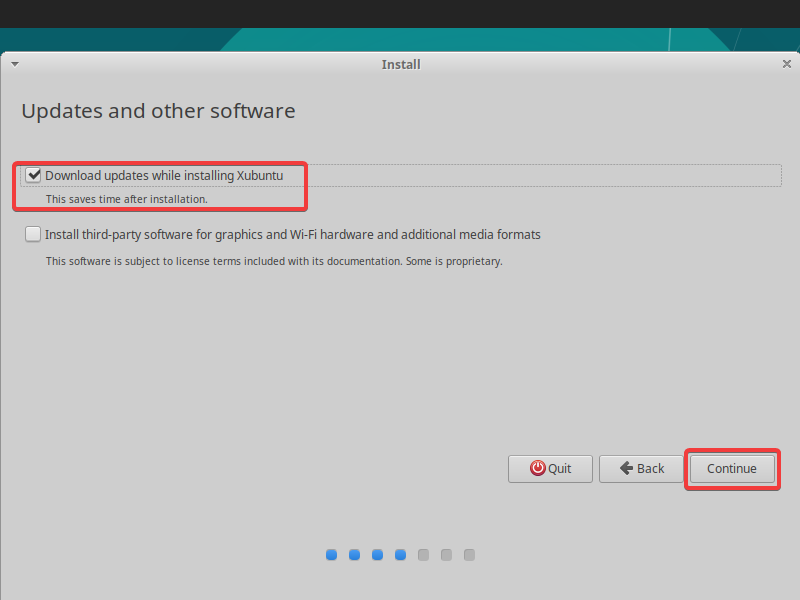
Here, you can choose whether you want to install updates while installing and if you want to install third-party software. You should check both, the installation may take longer but saves time afterwards by not needing to do it then.
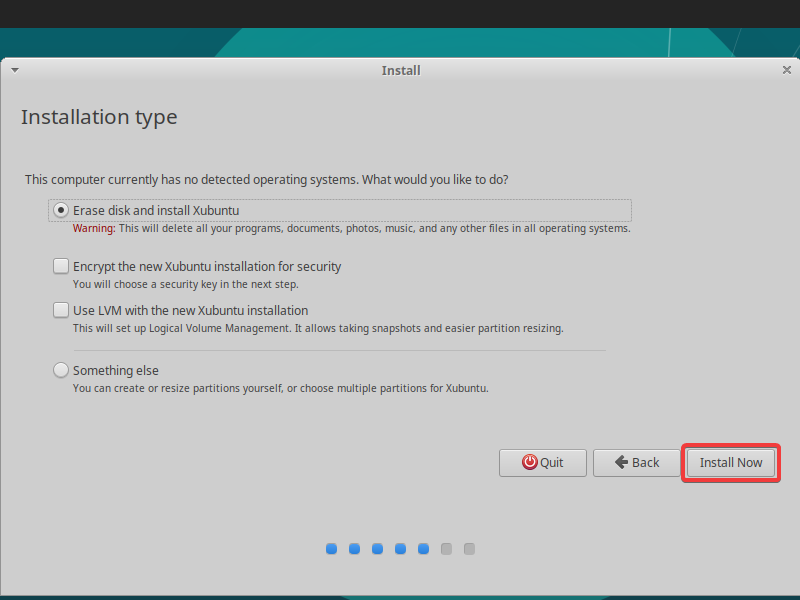
After that, you can “Install Now.” If you’re installing this in anything other than a newly created virtual machine, it will delete any and all existing data on the computer/virtual machine.
It will ask one more time to see if you’re really sure.
After that it will ask you about time zones and finally user accounts.
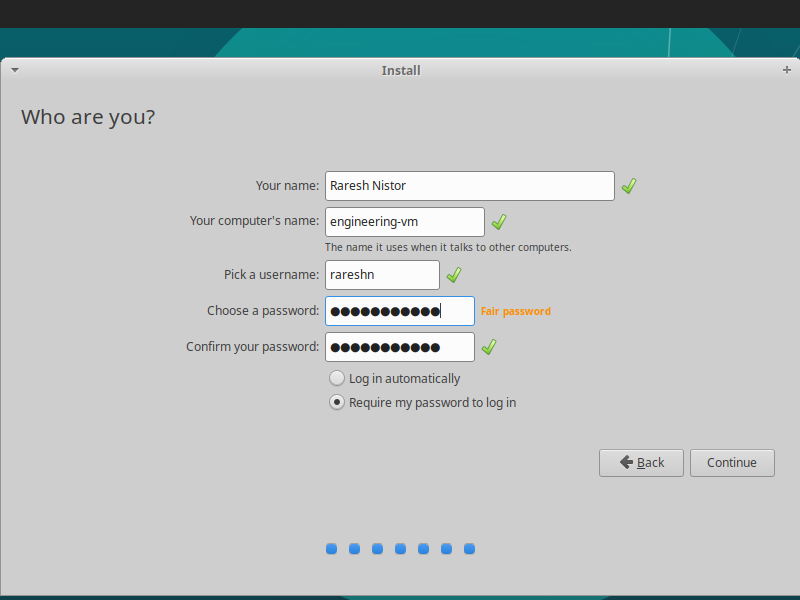
Fill it up however you want, if there’s something wrong… the installer will tell you. Once your done, click on “Continue.”

After that’s done, it will prompt you to restart and you should see a login screen from where you should log in.
Installing Guest Additions
Adapted from TecMint: How to Install VirtualBox Guest Additions in Ubuntu.
After installing Xubuntu, you may notice that the screen size is pretty small. You can set up the VM so the resolution matches the window size. It will also enable support for using clipboards and drag-and-dropping files.
To begin, pop open a Terminal by pressing Ctrl+Alt+T and type in sudo apt update(press Enter) and then type in your password (it won’t show up as you type it, press Enter once you’re done.)
After the system finished apt update-ing, you can now type in sudo apt install build-essential dkms linux-headers-$(uname -r) and press Enter.
It will ask you if you really want to install it, type Y and Enter. It will install the things needed by Guest Additions.
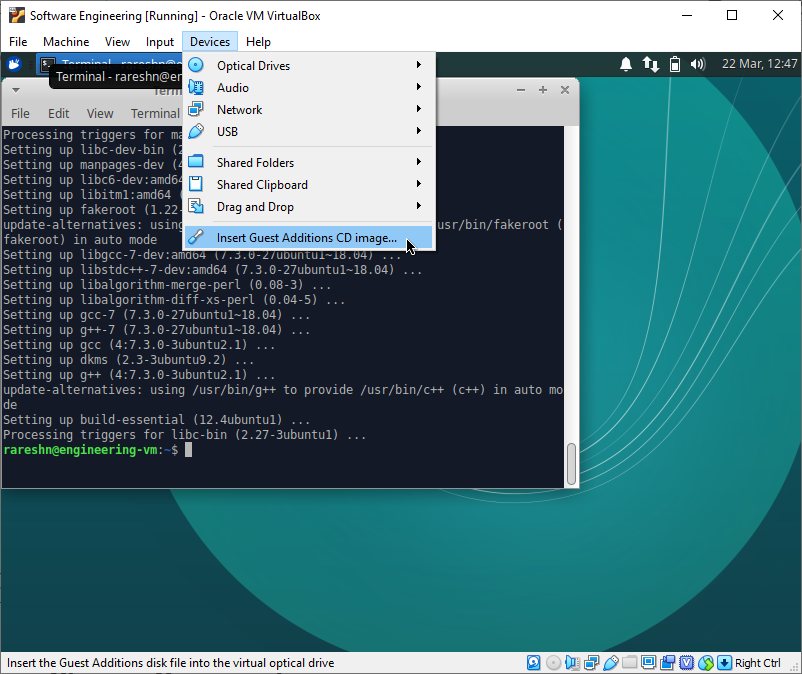

Now go to “Devices” and then click on “Insert Guest Additions CD image…”
A disk icon should show be on the desktop. Open up the CD drive and in there, right-click the background, and finally click “Open Terminal Here.”
Once the new terminal is up, type ./autorun.sh and press Enter. A new window should now show up and log progress.
Once “Press Return to close window…” shows up, you only need to restart the virtual machine.
Using Xubuntu
Xubuntu’s default screen layout is a lot like Windows’s with the exception that the task bar (which here is called the “panel”) is at the top as opposed to the bottom.

The mouse on the top-left (called the “Whisker Menu,”) is the place where you start applications and turn off your computer.
On top of the various application launchers, you can also search them.
If you know how to use Windows, I’m sure you can figure the rest out.
If you need more help, please take a look at the Xubuntu User Guide.
Closing Comments
You now have a virtual machine running Xubuntu, have fun. I may make this a bit of a series with various issues I come across and having a try at explaining them. And also, how to use Linux in various ways.
Appendix: Windows Virtualisation Support

Most modern computers support virtualisation and is just simply disabled by default. If your computer says Virtualisation is “disabled” but has support for Hyper-V, you need to enable it.


The way you do it different from computer to computer. If’s worth looking into your BIOS (or what is under Windows 10 called “firmware settings.”)
This is how you’d do it on my laptop. The way you do this depends on your computer, its age and manufacturer. On my computer, you’d go into Settings > Update & Security > Recovery (or type in ms-settings:recovery in Run).
Then under “Advanced start-up” click on “Restart now.”
After you clicked that and got logged off, you should see this blue screen:
Under “Troubleshoot,” go to “Advanced options,” then to “UEFI Firmware Settings.” Lastly, click on “Restart” to go into your settings.
Now look for an option titled something along the lines of:
- Virtualisation
- Hyper-V
- VT-x
- AMD-V
Enable that, save your settings and restart.
Once you’ve done that… you should be sorted.