A new note in a while, eh? New Zealand has gone into lockdown and I suddenly had a lot of free time on my hands. So I set up a Minecraft server on my home server and after playing with my friends and having that server moved over to a friend’s who has way more powerful metal to carry it, I though I might as well install Windows Server on it to provide some extra services I couldn’t get working on Linux, like WDS.
That venture ended in failure with Windows failing to activate as another one of my friends reprimanded me for trying such a thing.
So here I am, running back to good old trusty Debian Linux.
Debian Install and Config
The first thing to do is to say arrivederci to Windows Server and reinstall Debian. Luckily Debian 11 was released last weekend, which means I’ve got something in exchange for my boneheadedness. Luckily I already had a backup with all the data from before I tried to install Windows and will be restoring that.
The computer running this is an older desktop computer for the early Windows 8 era with the DVD drive swapped out with a 4TB hard drive. Connected to it, I have an external 4TB hard drive to act as a copy of the internal one. Its primary role is to host both SMB and SFTP shares me and my brother can access from within our home.
After installing Debian, I then installed an SSH server and exFAT driver to read my backup drive. I plan on using exFAT for my backups so I can remove the hard drive from the server, I can read it in any machine, be it Windows or Linux.
I’ve also set up a static IP within my home network so I can easily access it from other machines without having the IP address keep changing. I’ll write down the config for future reference:
-
/etc/network/interfacesThis file describes the network interfaces available on your system # and how to activate them. For more information, see interfaces(5). source /etc/network/interfaces.d/* # The loopback network interface auto lo iface lo inet loopback # The primary network interface allow-hotplug enp2s0 iface enp2s0 inet static address 192.168.1.XXX submask 255.255.255.0 gateway 192.168.1.1 dns-nameservers 192.168.1.1 1.1.1.1 1.0.0.1 # This is an autoconfigured IPv6 interface iface enp2s0 inet6 auto
I then started to copy the files back to the internal hard drive.
Users and Shares Setup
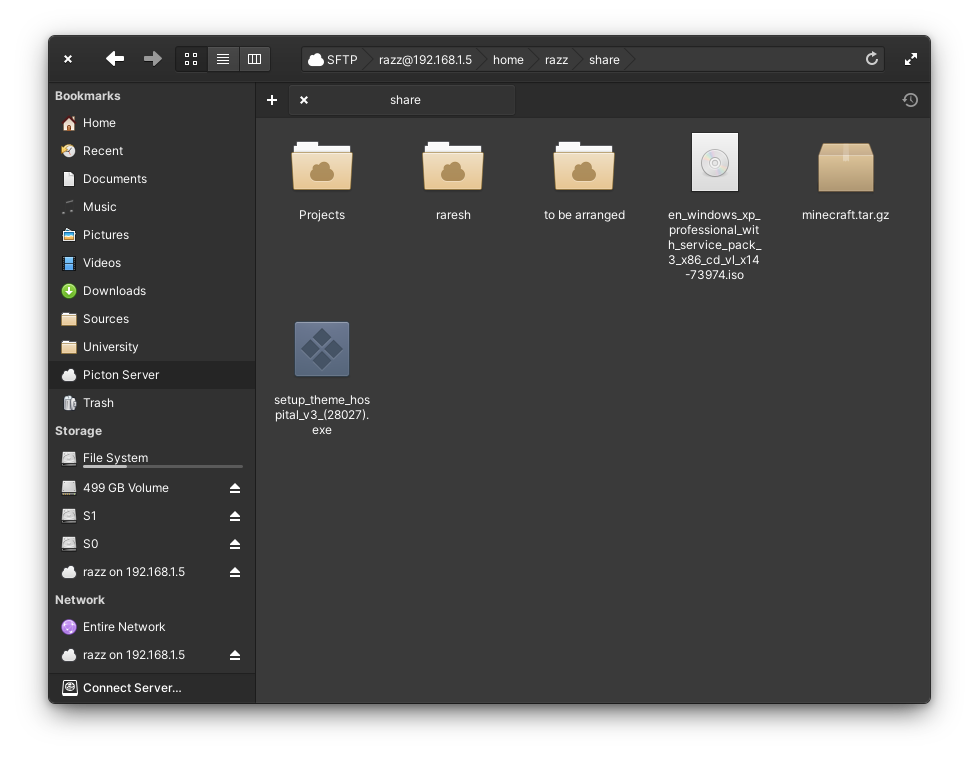
The next item on the list is to set up users and shares. I created UNIX users for both me and my brother, accompanied by a folder on the external storage to act as out shares. I’ve also created a public share for movies, music, software etc.
/stor1/
└── shares
    ├── public
    ├── razz
    └── vlad
These folders would be exposed directly as SMB shares, with symlinks in our own home folders to easily access them thought SFTP.

SFTP is easy enough to get working with SSH.
Samba
Backups
Where there are files, there are backups. I plan on having a two levels of backups of the internal hard drive. Nightly backups to the external hard drive (on-site backup), and in the future, weekly off-site backups.
Since I want my external hard drive to be easily accessible during an emergency. I have set it up as a exFAT file system so that it’s readable on Windows, macOS and Linux (with the appropriate drivers installed).
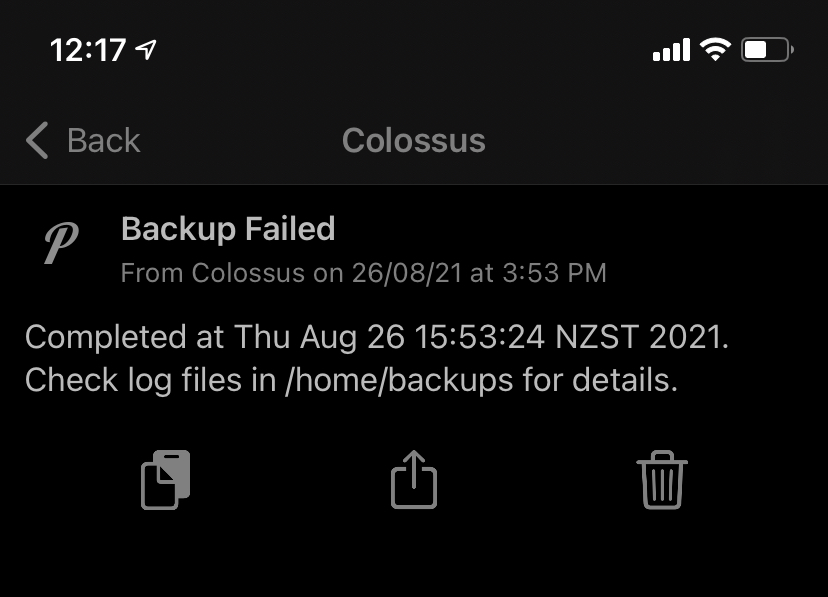
Onto the how. A program called rsync is very useful for making both local and remote copies of everything. I also found an app called Pushover for real-time notifications so I have a notification ready in the morning with how the backup went over the weekend. Here’s a screenshot from before I reset my server.

rsync and Logs
I’ll begin by setting up rsync itself. It’ll be set up to archive everything, and keep any deleted files. The future off-site backup will be managed by having an identical copy of the on-site one, file deletions and all.
- Command explainer:
-
Local backup (
/stor1→/stor2)The
rsyncarchive flag (-a) does the following things:-r- Recursive-l- Copy symlinks as symlinks-p- Preserve permissions-t- Preserve times-g- Preserve group-o- Preserve owner-D- Preserve device and special files
-
Local backup (to exFAT)
$ rsync -rltv /stor1/ /stor2After some testing, the
-aflag tries to set permissions on the exFAT and fails since exFAT doesn’t support UNIX permissions, owner and group rights. To patch this, I’ve replaced the-aflag with a subset of flags it bundles. Namely-rlt(recursive, copy symlinks as symlinks and preserve times). -
Remote backup
Another tidbit to note with the
rsynccommand. A trailing slash at the end of a folder path means to copy the files inside it to the target, not the folder itself. It’s (almost) the same as writingpath/to/folder/*forcp. -
Within the backup script, the output of the rsync command will be redirected to local-rsync.log and local-rsync-error.log to be examined later.
Notifications
Within the script, I’ve added some helper functions to help with logging and notifications. I’ve made a send function to do the heavy-lifting of logging and sending the message to Pushover, and silent, success and fatal to act as syntactic sugar for send (sets the title and sound relevant for the situation).
Pushover has a nice API where I can send notifications with a simple curl command.
# send out to pushover
curl -X POST \
        -d "token=$PUSHOVER_TOKEN" \
        -d "user=$PUSHOVER_USER" \
        -d "title=$title" \
        -d "message=$content" \
        -d "sound=$sound" \
        "https://api.pushover.net/1/messages.json" \
        >/dev/null 2>/dev/null
This will let me know how the backups are progressing without pulling up a SSH window. And if something goes wrong I can fix it.
Scheduling
To make this script run nightly, I’ll be using a program standard on many UNIX system called cron. Think of it as the Linux version of Windows’s Task Scheduler.
I can edit my crontab (a fancy name for the list of scheduled tasks) by running crontab -e. But since the backup tool copies data from multiple users, I will run it as the root user with sudo.
Now, because I keep forgetting how to write out the task definitions, I use a website called crontab.guru to generate those for me.
A line in this file is a different task, first the time it would take place, then the command to run. To run my backup utility at 2AM daily, I’d write this down.
0 2 * * * /home/backup/backup.sh
Monitoring the Backup
To monitor the backup real-time, the tail -f command can be used on the logs to see what rsync is up to.
To help with keeping track of how backups are progressing, the script also writes dates into .running (to indicate a backup is currently being made), .failed with the last attempt ending in failure and .last with the last successful backup.
Web Interface
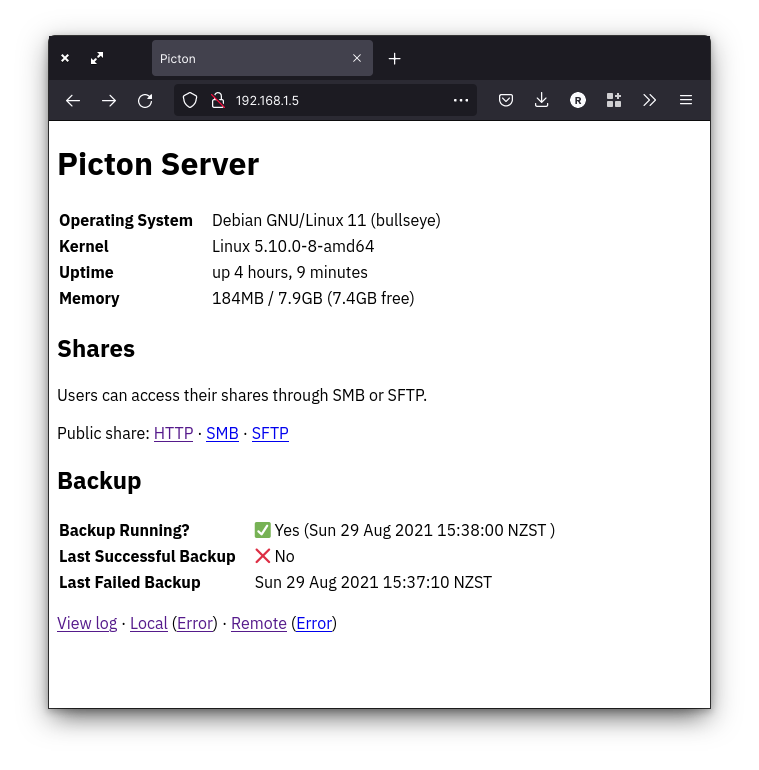
I’ve also created a simple web interface for keeping tabs on the server with simple details like the system’s uptime, memory usage, access to the “public” share, and the state of the backup.

The code for my dashboard is on GitHub: https://github.com/thegreatrazz/picton.